Category Archives: Tutorials

The All-In-One Set Up Tip Sheet

For some reason the regular Second Life viewer decided that I could only log into the beta grids. I tried all sorts of things to convince it that I wanted to go elsewhere, but it ignored me and kept defaulting back to the beta grid. Eventually I manual deleted all my App Settings folders for Second Life, deleting the cache, preference, everything. Since I had to reset my preferences anyway, I thought I might give you a walk-through of how I set up my computer to shoot photos.

First I press CTL-OPT-D to open the Advanced Menu.  I want to be able to cam all over with my camera so Deselect Limit Select Distance. This not only lets me edit things far away, but I can also option-click on them to bring them into the exact center of the picture. Then I Disable Camera Constraints so I can move my camera vision all over, far away or close up. I select High-Res Photos because it doubles the pixel count of the pictures you save.  I also select Quiet Snapshots to Disc so that I don’t get the click sound and also so I don’t make a cheesy smile in every picture. I also enable the Show Development Menu for some things later one.

(Handy Tip #1: See that Rendering Types Menu. Remember that! If you are editing a prim and it runs away from you and gets buried in a mountain or if you move your pose stand and accidentally lower it into the ground you can go there and rescue your lost and buried items. Just deselect Surface Patch and the ground disappears and there your things are.)
  Continue reading

AN IOF PSA:Making TPV Your Windlight Bitch


My normal calm demeanor has been shattered recently with some issues I’ve experienced with my graphics. My best friends have had to endure hours of me raging “WHAT THE FUCK IS WRONG WITH MY FUCKING GRAPHICS CARD?” and other assorted profanities like that.
You might say, “Goodness, Gidge. Such LANGUAGE! Buy a new machine.”
“Ah, but you see,” I would explain. “I just did. I just shelled out a fortune on a new machine with lots of fancies, to the point that the sales guy at compuCenter about wanked off as I picked out my add ons. So, it’s not the machine.”

If you are not on my plurkline, you have probably missed a few weeks of me also plurking “WHAT THE FUCK AM I DOING WRONG WAAAAAAH” and assorted lovely things like that. So you might not know what exactly was challenging me.

It was this – the moment I ticked the “Basic Shaders” button in graphics settings – in ANY TPV (I use Kirstens and Phoenix) – my avatar would do THIS.

If you can’t quite see why this is a problem take a closer look.

It looks like antialiasing isn’t on.

But it was – at 16X. Continue reading

Edelweiss plus Zoom Tutorial

apr13_029
Since Gidge brought up The Sound of Music, my mind went straight to Edelweiss when I looked at the pictures from last night’s shoot.

Edelweiss, Edelweiss
Every morning you greet me
Small and white clean and bright
You look happy to meet me
Blossom of snow may you bloom and grow
Bloom and grow forever
Edelweiss,Edelweiss
Bless my homeland forever


apr13_024
I shot these photos at the blanc part of the noir et blanc installations at World’s End. It’s such a beautiful sim and very uncluttered so it struck me as a good spot to make a short video tutorial on using the Zoom keys to change your cameral “lens” in Second Life. Most of the time we zoom by pressing down the option or alt key and ten using arrows, view or the mouse to move our camera about and to zoom in. That’s great, but it makes for very distorted close-ups. This little video will show you how the zoom controls work and contrast proper and improper methods of zoom.

Continue reading

The Checklist

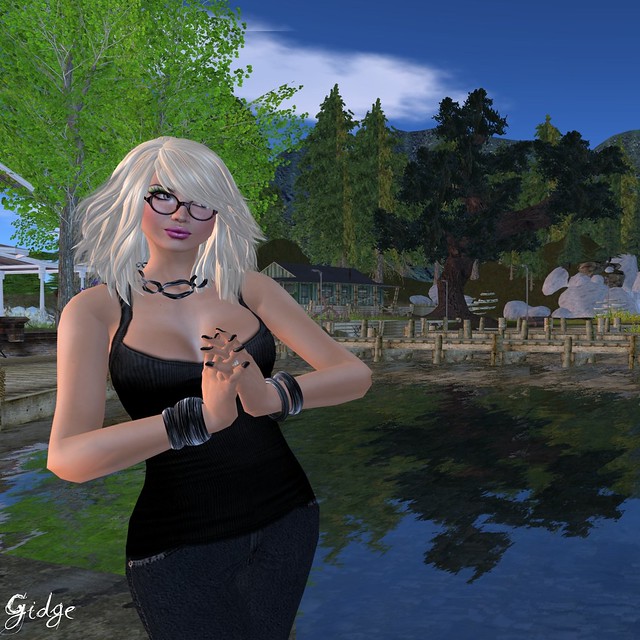
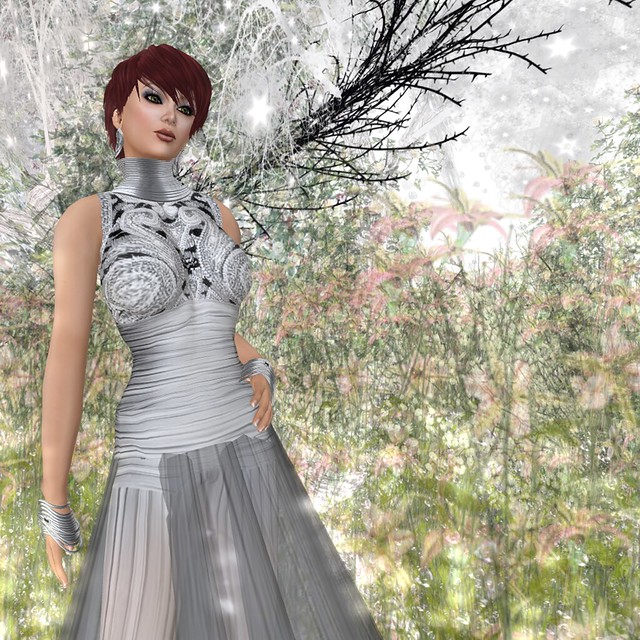
Talk to any Second Life® photographer or blogger and they will confess to committing multiple mistakes. Anyone who says otherwise is either annoyingly perfect or blindingly unobservant. Just the other day I had to reshoot my entire blog post because I left the camera set to show the User Interface – an elementary error that could have been prevented with a simple checklist. I notice simple errors in others’ photos as well. A prim is missing from a gown or is only partially rezzed, so the full beauty of the gown is lost. An earring floats in space. Hands are eaten by body parts. Mistakes happen to all of us. However, I am the type of person that likes to problem solve so after having to reshoot my entire blog post, I thought about making a checklist that might help me avoid making these sorts of mistakes. I asked for help on plurk and got lots of suggestions for the checklist – and of course, readers are encouraged to add their own items. So here it is:

Check Your Pose:
Check your pose from multiple angles. There are so many poses that if the pose causes intersections, just keep looking until you find one that works with what you are wearing.

  • Are you hands in your skirt?
  • Are your feet touching the ground or are you floating above/below it?
  • Are your ribs eating the pattern of the top?
  • Are you legs sticking out of your prim skirt?
  • Does the pose send your prim nails flying?
  • Are your eyes focused properly?
  • Are you wearing an alpha texture and standing in front of an alpha texture? Make sure they don’t make parts of your clothing or hair disappear.
  • Can minor adjustments make the pose work? You can make small shape adjustments or use Avimote to make a pose work.

The Clothing & Prims
Make sure everything is rezzed and fitted. Use rebake if necessary. You might even need to relog, but it’s essential that your clothes and skin are fully rezzed. Fuzzy is not lovely. Also take the time to check the fit. Not all avatars are the same size, so prims may  need adjustment. There are links to many tutorials on the bottom of my sidebar in case you want additional help.

  • Have you properly fitted all prim attachments?
  • Are you wearing both right and left jacket cuffs and shoulder pieces? Sometimes adding accessories and jewelry, prims are detached without our noticing.
  • Is your hair in your shoulders/breasts/chest? You can change your pose or you can use the Hide Edited option to derender individual hair prims.
  • Are there gaps around your hair at hairline? Does it need to be resized?
  • Are your layers worn properly? Tattoo under the shirt, wearing the entire shirt including bottom?
  • Are all textures and prims rezzed completely?
  • Are you wearing the correct shape? Skirt shape with system skirts and NOT with pants.
  • Are the prim feet/hands tinted for your windlight settings
  • Are there stray alpha layers that should not be on?
  • Is the hair base visible and is it the right color?
  • Are there bits and pieces on full bright that should be turned off?
  • Do you have prim nails on both hands?
  • Did you fit your earrings for the closeup?
  • Did you check the photo from the store to verify that things fit and are sized as intended?
  • Did you write down the clothing details before removing clothes?

The Camera
There’s nothing more frustrating than doing all the work to select a perfect pose, fit all the prims and get your windlight settings perfect and then leave Second Life to discover your pictures are unusable. Check your camera settings and check one of the pics you have saved to disk so your hard work is not wasted.

  • Do you have it set to the right resolution?
  • Did you check your graphic settings?
  • Is anti-aliasing on?
  • Did you use Ctl-0 (zero) to shoot your close-ups?
  • While focusing on the face, are you making sure that the rest of your body and clothing is rezzed?
  • Do you have the camera set to show the interface or HUD?
  • Did you look at one of the saved pics before breaking down any set, poses or settings?
  • If your viewer has a mosaic bug with your video card and there is water in the picture, have you set your photo size to no larger than the screen size?

In addition to this checklist, there are many great tutorials to help you be a better photographer and/or blogger. There’s a section of my blogroll called Tutorials, you can find many good resources there.

Tutorial: Inconvenient Prims & How to Hide Them.

When I first framed this photo in Second Life, there were a few prims that just were not where I wanted them to be. Now there are several ways I could have dealt with those inconvenient prims. I could have spent 30 minutes or so cloning and painting and liquifying in PhotoShop to paint them out of the picture. I could have made a copy of the hair and shoved them inside my head or outside the picture frame. However, I opted for the much easier strategy of simply hiding them or more accurately not rendering them. Unfortunately, not everyone knows about this little trick and so they work much too hard. This short tutorial is to introduce you to the best time save on the grid.

Continue reading