So, now that my preferences are set and I have fine-tuned my windlight settings, I can finally take a picture! Whew! But wait, my necklace is missing pieces and my feet show through my shoes. I even have some bald patches! And after all that work!
Never fear! Debug is here!
Open Debug Settings from the Advanced Menu and type in rendervolumeLODFactor. It will autocomplete by the time you type L which stands for LOD which stands for Level of Detail. You want this set at 4 or higher. I find that 4 is high enough for everything I am wearing, but I suppose if I wanted to see the hazelnut in the raven’s claws 75 meters overhead, I might want to crank it up higher.
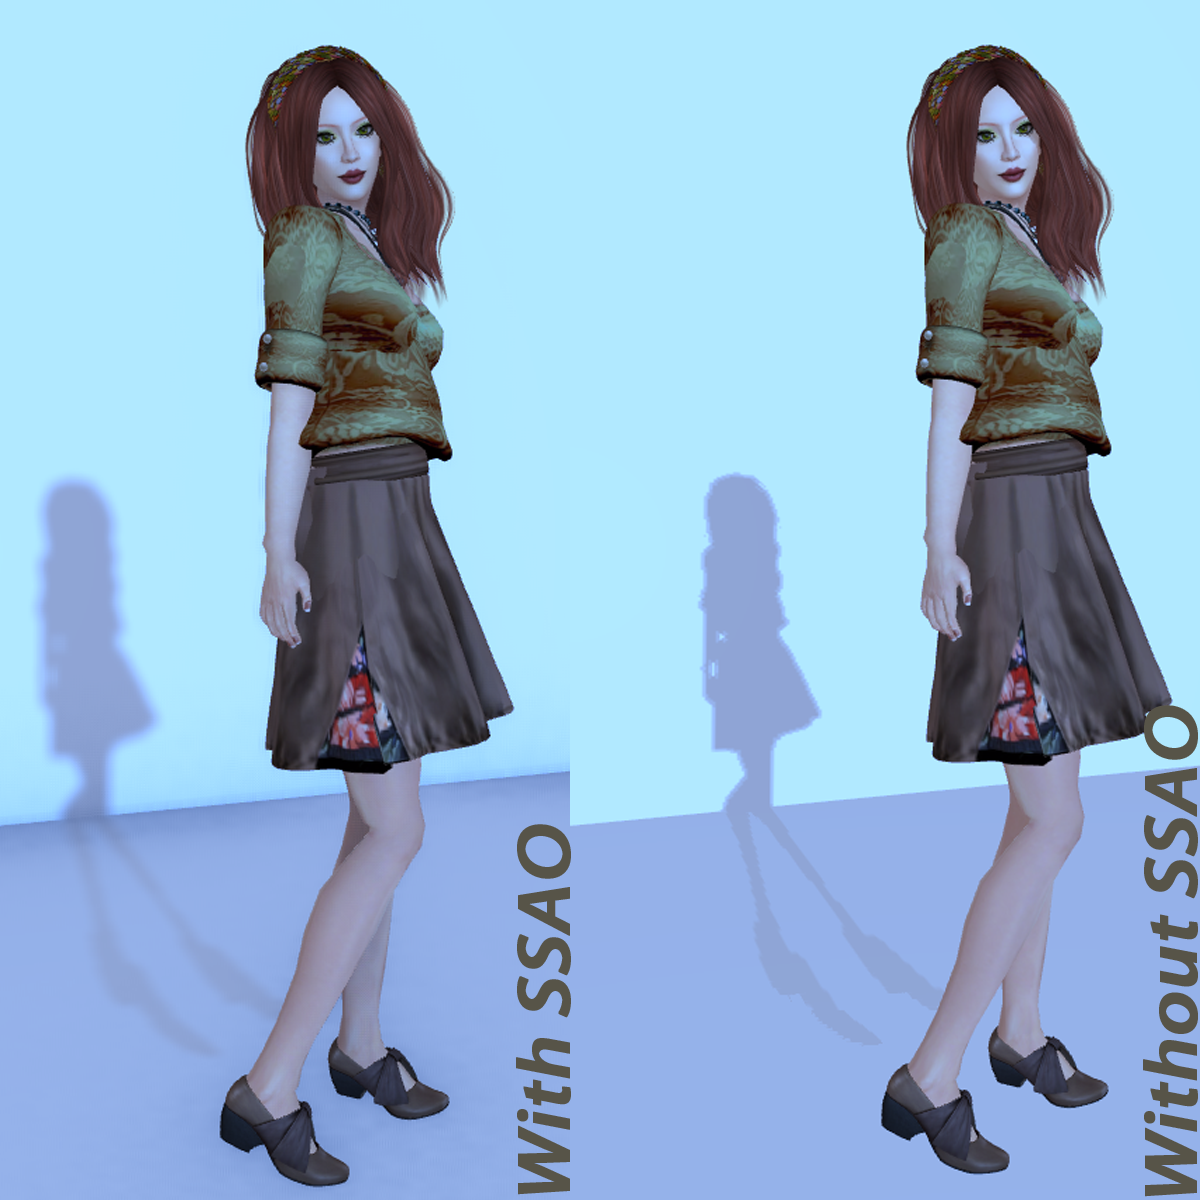
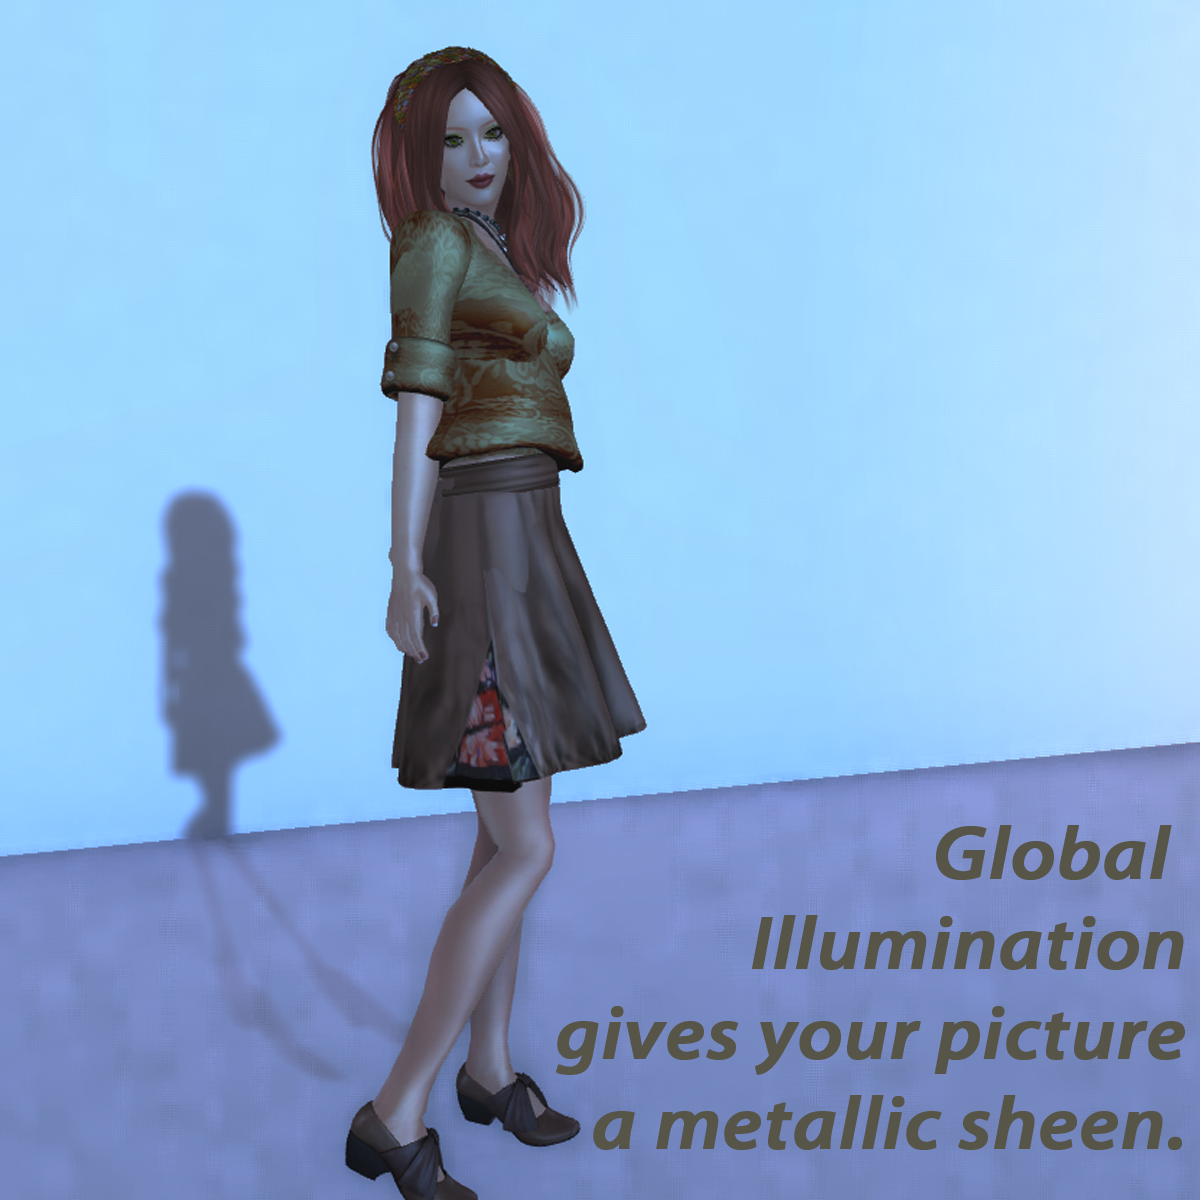
So I have decided to turn on shadows. As I mentioned in the All-in-one Setup Tip Sheet, sometimes when you turn on shadows the SSAO and Shadow Smoothing under the Develop Menu, Rendering submenu must be selected. It usually is, but if your shadows look jaggedy, check to make sure you have it done. Right below it is the selection for Global Illumination, a little used feature that gives you a metallic look at the moment. In future iterations, I am sure they will work to make it look more natural.
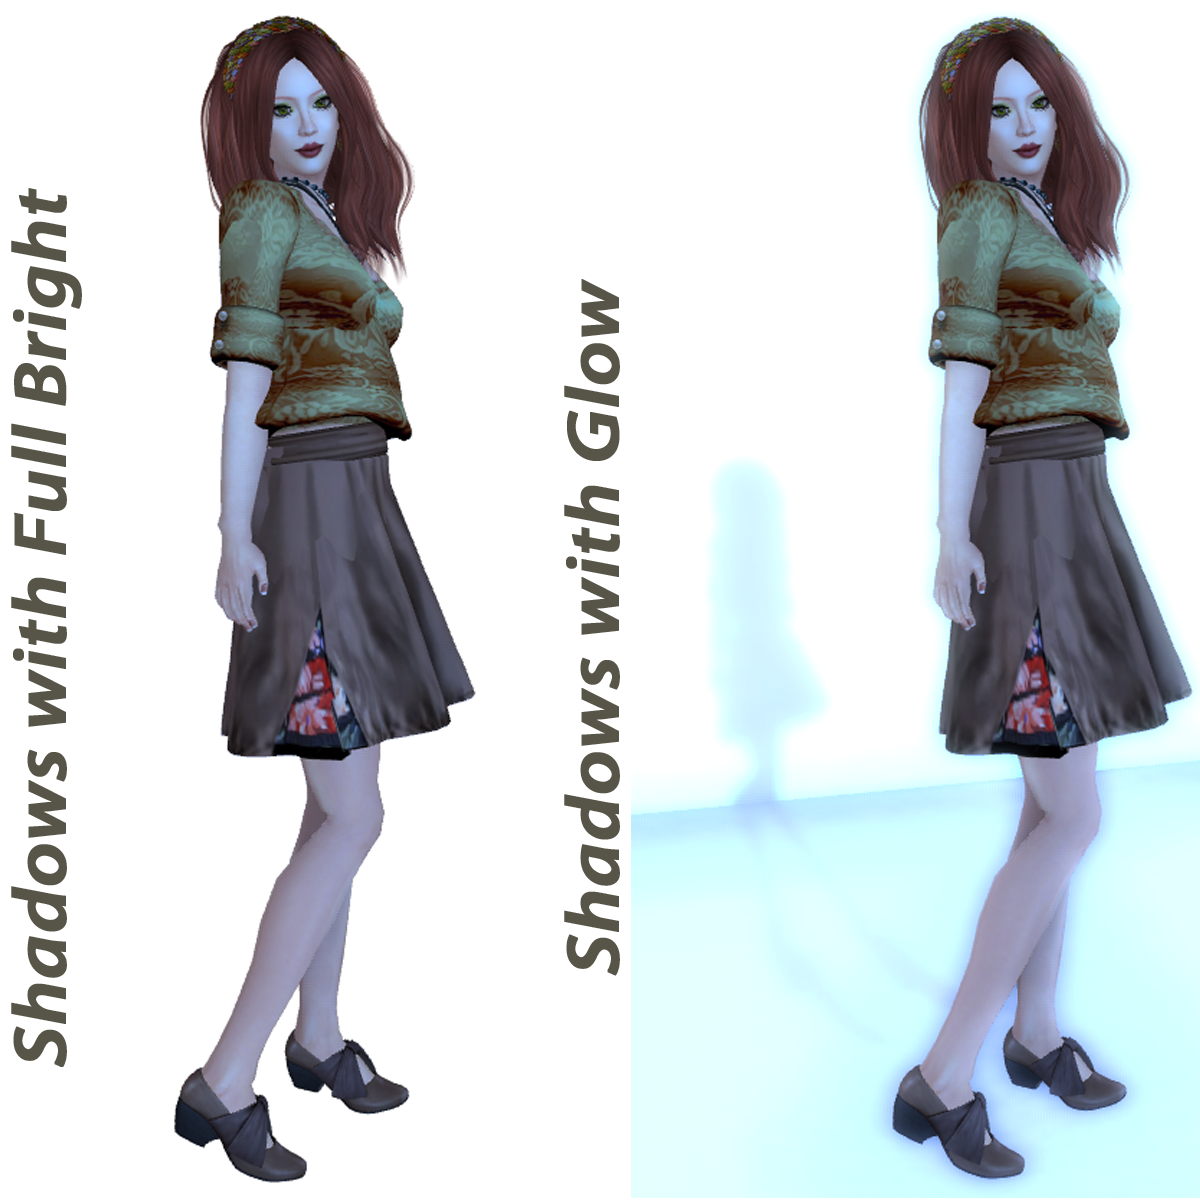
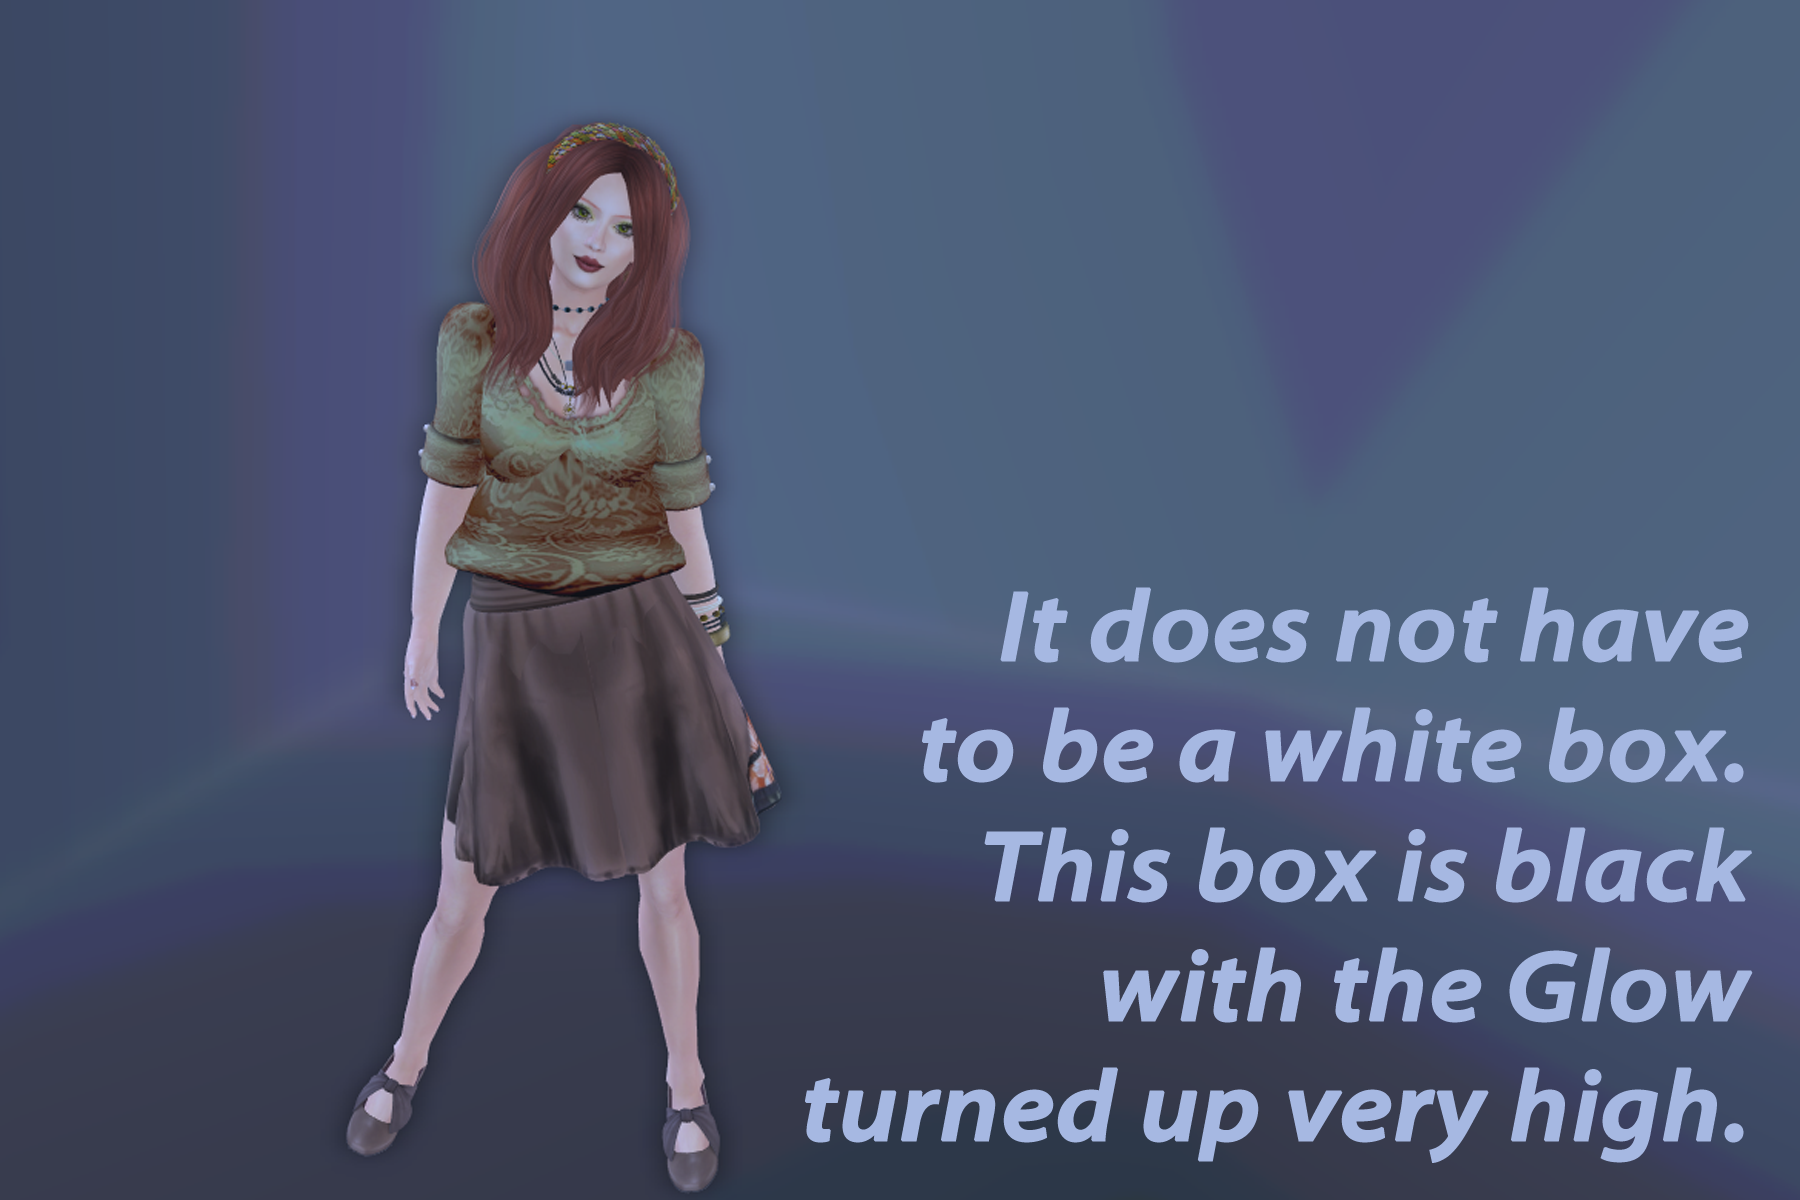
Most of the time, I shoot in-world. I like the challenge of finding a good environment for my outfit and calibrating my photos to highlight the setting. Someimes, though, I want to focus completely on styling, or just skin or hair and will make myself a box for shooting. I like boxes because I can play with the lighting of the box. i can turn on full bright and make all shadows disappear. I can turn on Glow and give the picture a dreamy, sundrenched feeling. I can even make the box into a light, if I like.
As you can see, with Full Bright turned on all the Shadows disappear. If you turn on Lighting and Shadows and you see no shadows, check to see if your background is set to Full Bright. Turning Glow on does not erase all the shadows, but I have to say, Glow is very kind to your skin.
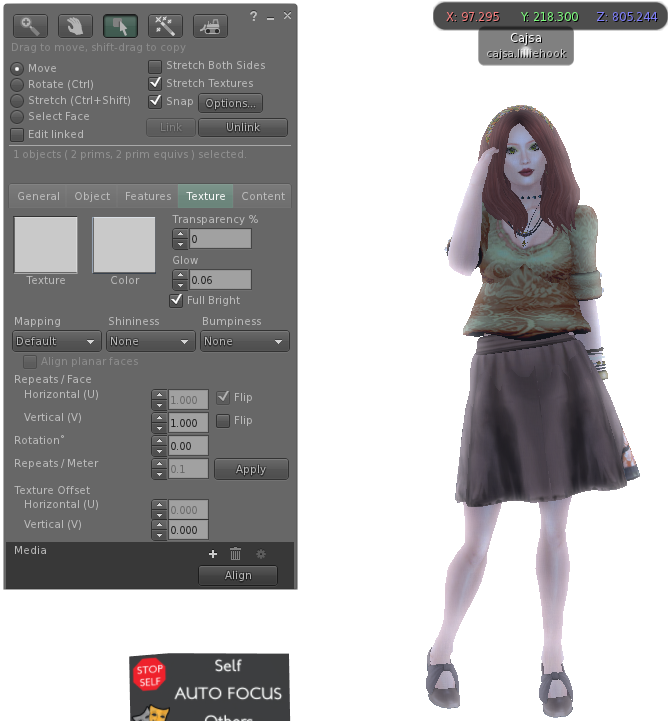
Glow is fun to use without shadows. You can use glow with the default windlight setting and shoot lovely photos. If you crank it up just a bit, it will hide your raggedy edges if your viewer is misbehaving. If you crank it up too high, it will hide you.
The adjustment for glow is on the Texture tab of the Edit interface. I usually have it a 0.03, but in this picture I went wild and upped it to 0.06. The higher it is, the more it overwhelms everything in its path. It’s sort of like the Borg that way.
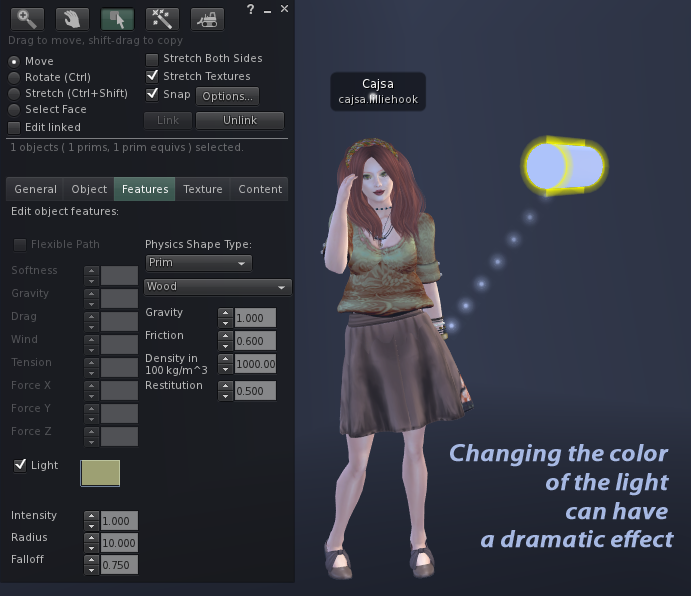
You can enhance your photos with lighting. For example, in this photo, I have a light. You get Lights when you have Lighting and Shadows deselected. If you turn on Lighting and Shadows, you get Projectors – a whole ‘nother story. You can change the color of the light to accentuate, compensate or cancel out the effect of ambient or sky colors. In this picture, where the yellow light falls, the blue in the windlight setting is canceled out by the yellow light, leaving a natural skin tone.
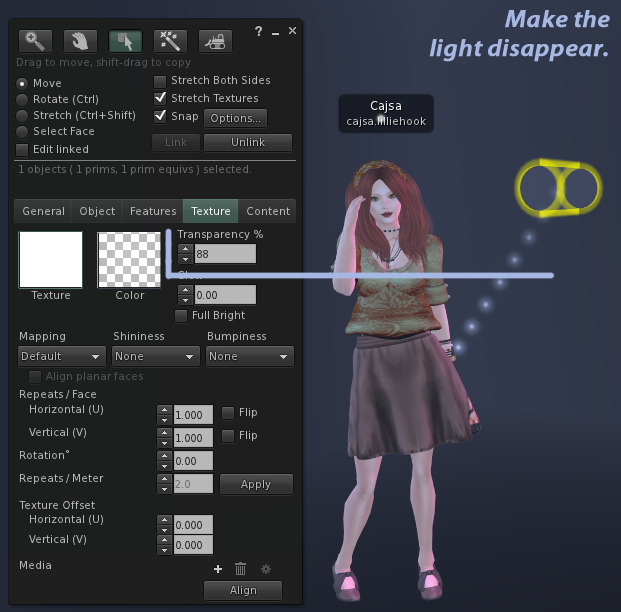
You can use a transparent texture or increase the level of Transparency on the Texture tab. You can add multiple light sources and use different colored lights for all of them, if you like. You can find the light again by turning on transparency with CTL-OPT-T.
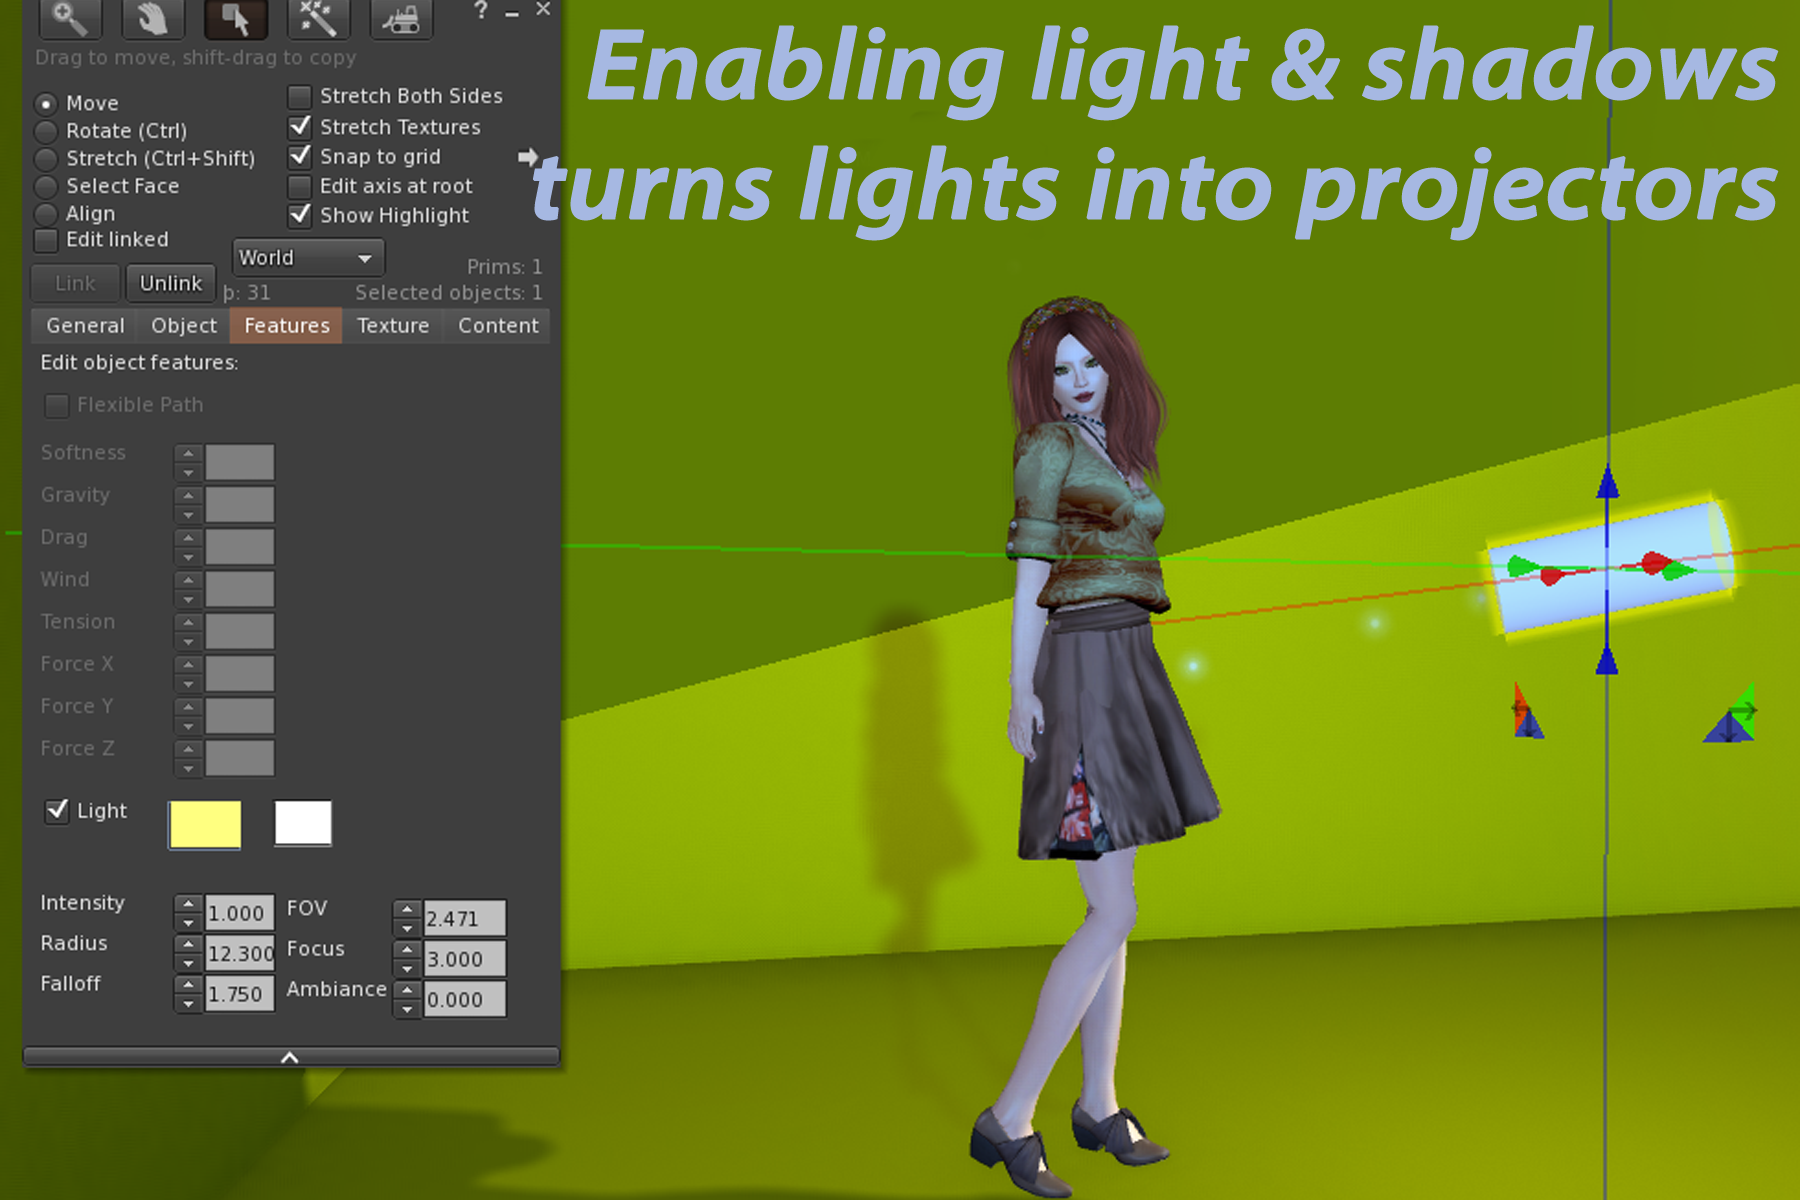
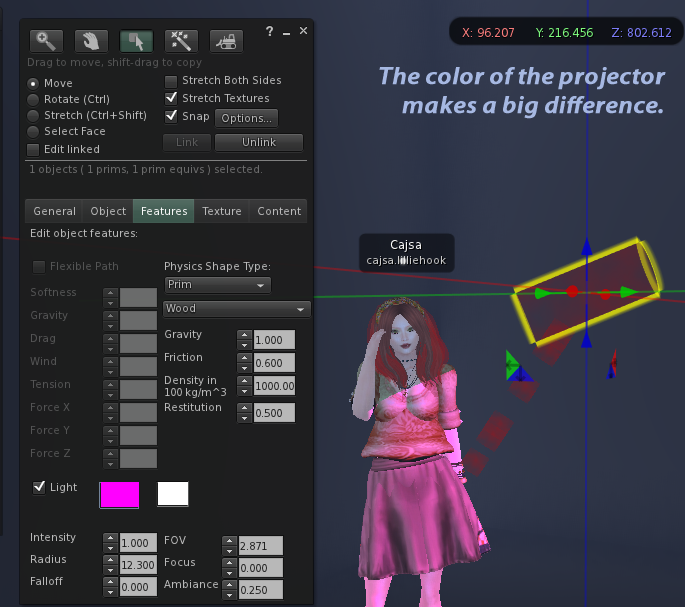
When you have Lights and Shadows enabled, you get a new column in the lower right of your light’s edit window Features tab. That’s because now your light is a projector and you can set its Field of Vision, it focus and how much affect it has on the ambient light outside its FOV. As you can see, now there are two shadows, one from the sun and one from the projector.
The projector color can be played with as well for all sorts of fun and games. This is so much more fun than lights with prim rays!! Time to play around while I figure out the lights!
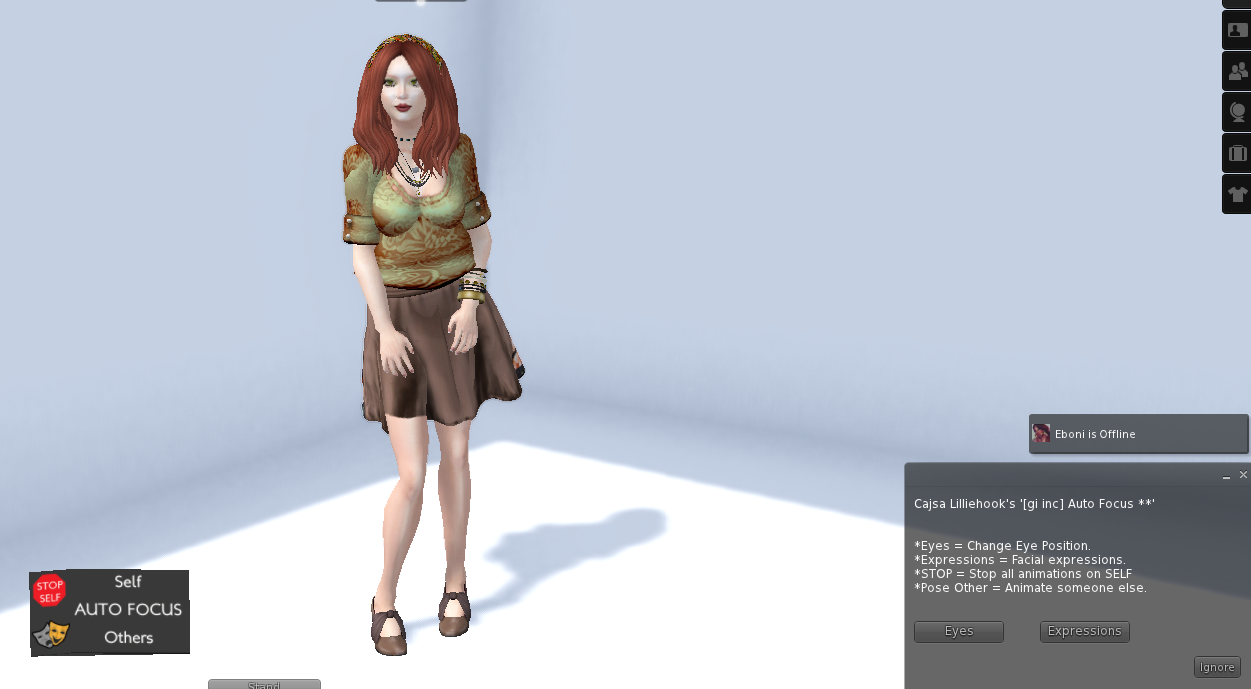
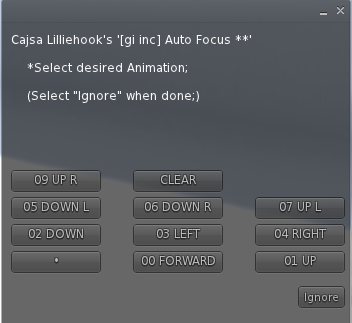
So now that I have checked off my settings, my windlight and my lighting options and picked a pose, what else could there possibly be left to do before I can begin shooting my pictures? Well, for me, it’s adjusting my eyes so they aren’t rolling back up into my head. I use the AutoFocus HUD from [gi poses] available on Marketplace. Maddox DuPont did a marvelous tutorial on the Correct Positioning of Eyes in Photos at his Mad Image blog.
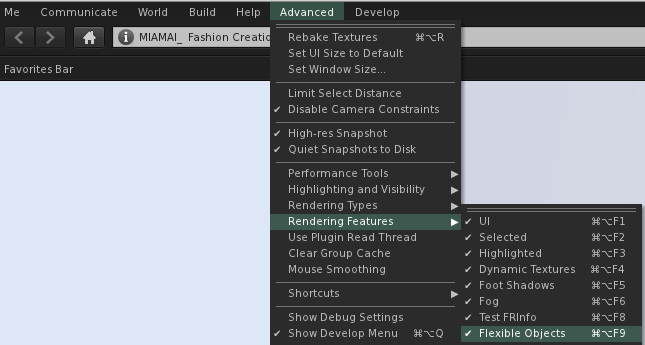
Now is a good time to turn off those Foot Shadows. I would have done that in the initial set up of my viewer, but for some reason, it always changes back. I have to get rid of foot shadows so much I have memorized the key-stroke. CMD-Shift-F5. That’s CTL to you Windows users.
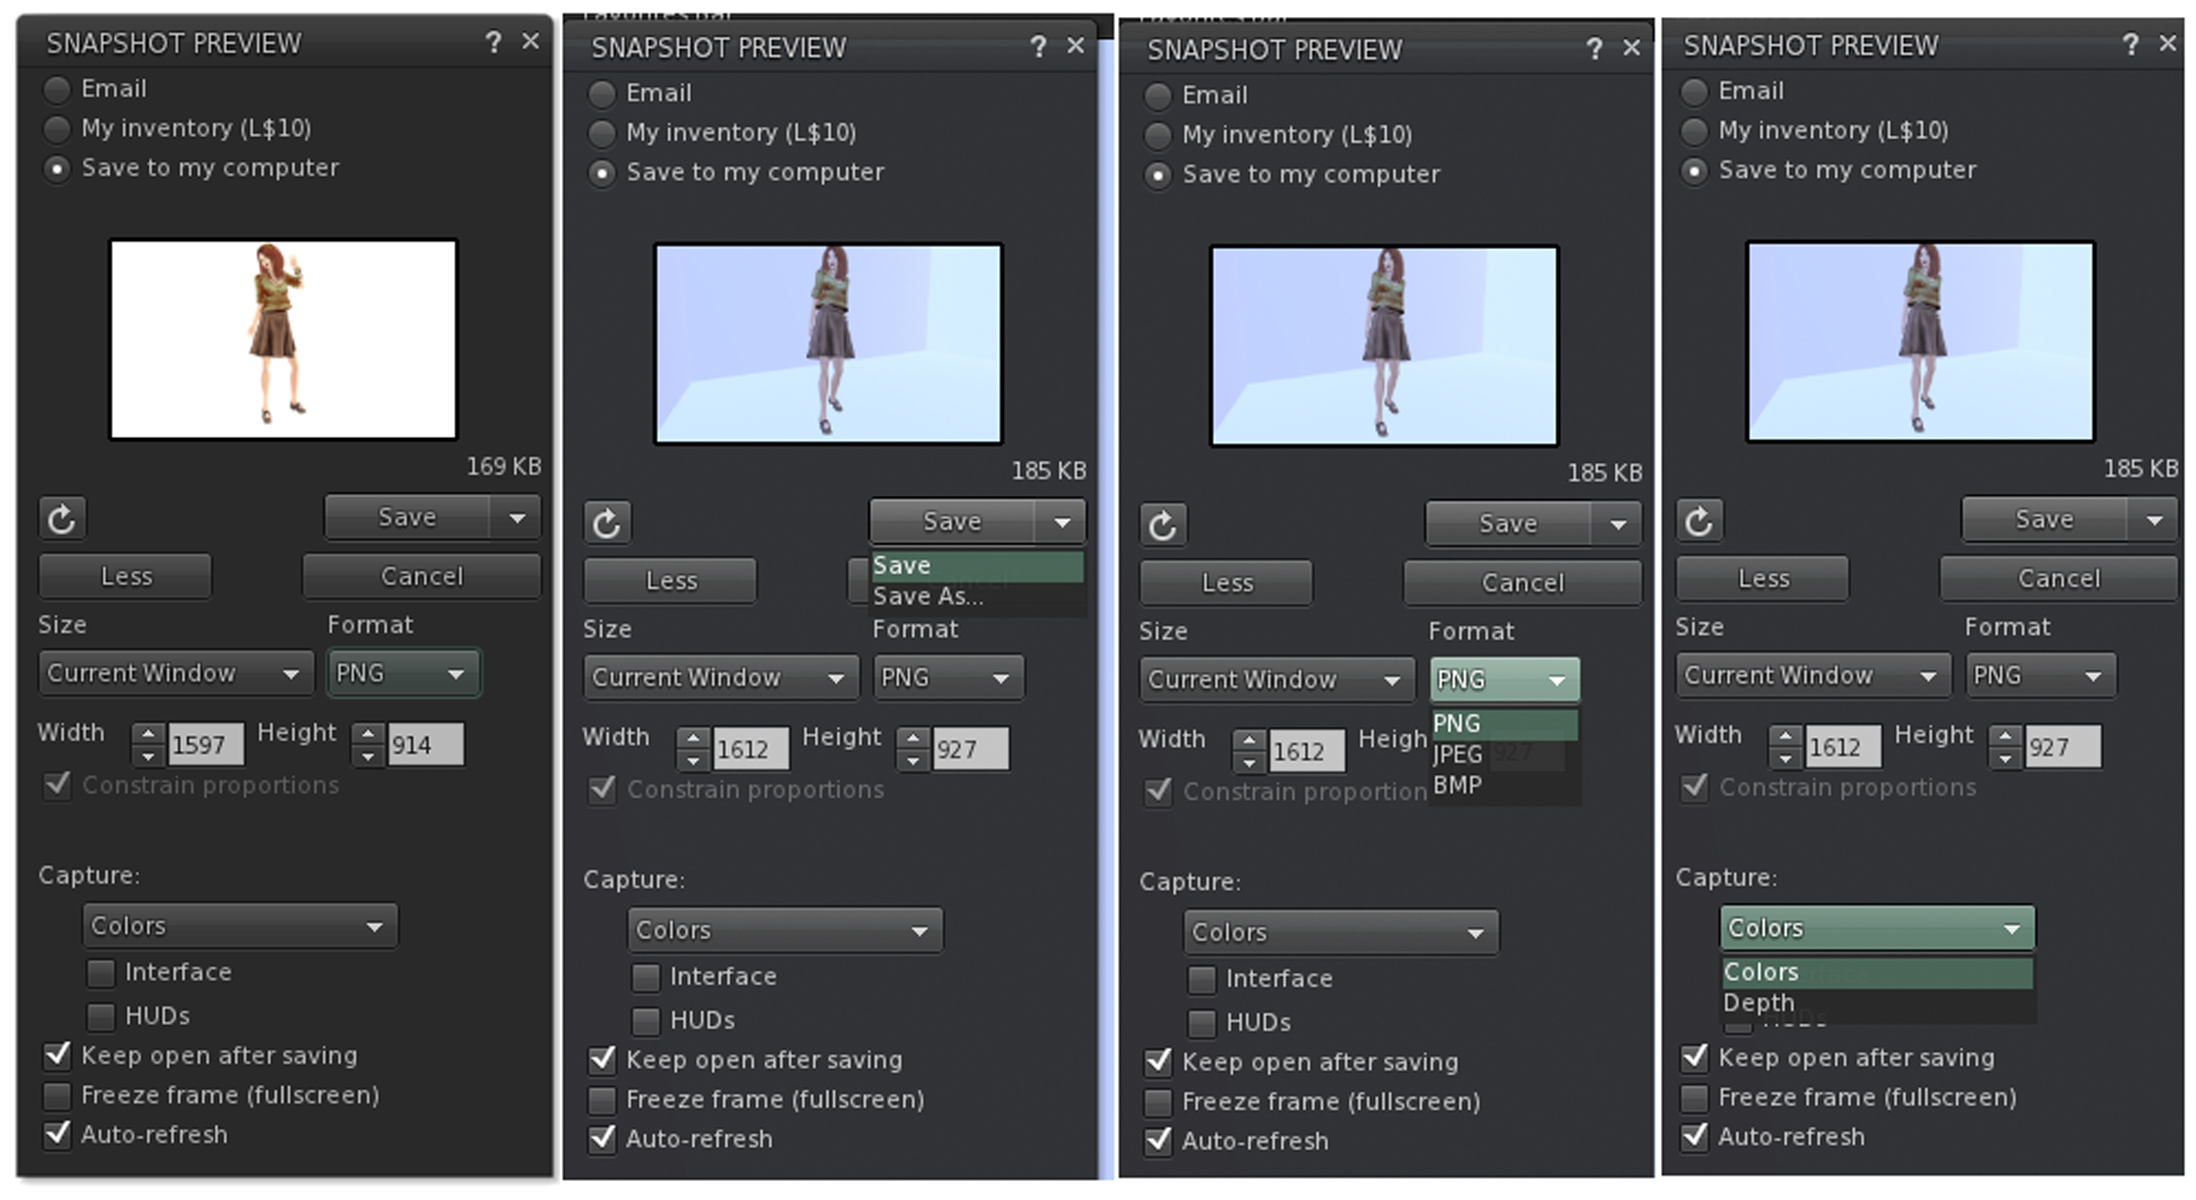
Eek! I get to snap the picture. As you can see, once you save your picture, you can still change the file names of subsequent pics using the Save As drop down option. You can also change the Format you save it in and change exactly what it Captures. Thankfully, most of the stuff covered in these three tutorials stay in place so you don’t have to reset all the time, except for LOD Factor and Foot Shadows and occasional changes you may make.
So now I am off to shoot some photos. I would go over camera controls, but there’s no better place to learn that than the Knowledge Base. I set my silly projector that is not scripted, but completely editable by you, for sale for 2L just in case you would rather buy one than make one. As you can see, you can make one very easily. I can’t think of one good reason to buy it, but just in case – here’s where it is, right next to the Notecard giver with my notecard of landmarks.



Very cool and brilliant post. Thank you.
Thanks so much! I can see you using projectors for your posts. Especially ones with outfits like this week’s with the bear.
Pingback: Friends Don’t Let Friends Take Bad Snapshots « the messenger
Pingback: Shopping Cart Disco - Second Life's #1 Fashion and Gossip Rag
Thank you for this! I finally have shadows on my iMac and I’m busy catching up on all the tips and tricks for photography. The SSAO tip was worth hours of work for me as it took away my horrid jagged edges. Great post.
Thanks! I have to credit Berry for that. She passed the tip along long ago in her tutorial. It bore repeating, though, as I have seen people suffering with jagged edged shadows all over.
Ok i have a question i am on firestorm how do i enable or what settings do i use for “SSAO” my shadows are very jagged and this sis the part of the tutorial that wasnt so clear and i need the most.
It’s the same place. Under the Develop menu which you open from the Advanced Menu, drop down to Rendering. Lighting and Shadows will be checked. Under it are Shadows from Sun/Moon/Projectos and SSAO and Shadow Smoothing. Make sure both are checked.
Pingback: Bronze – Contemplations : This Great ImBalance
Pingback: Red | It's Only Fashion
Just read this and decided to make a projector – i never knew i could!
But – the one important setp to turn it into a projector was left out – you actualy have to apply a texture to the light! 🙂
You can make projectors without a texture on the light. They will be solid color – and you can tint them in the features window. Adding a texture is optional, but is how you can create multi-color projections. I wrote about using textures on projectors in a separate tutorial. https://itsonlyfashionblog.com/2012/08/02/light-leak/
Good luck with your projectors.